Jupyter Notebook PDF出力 日本語設定

毎月開催している桜井進のPython・UNIX教室ではJupyter Notebookファイルをテキストにしています
受講生にはhoge.ipynbと全セル出力したhoge.pdfを配付するので
hoge.ipynbをhoge.pdfに変換します
以下の方法がわかるまでは印刷からPDF出力する方法を用いてきましたが
印刷レイアウトがイマイチでした

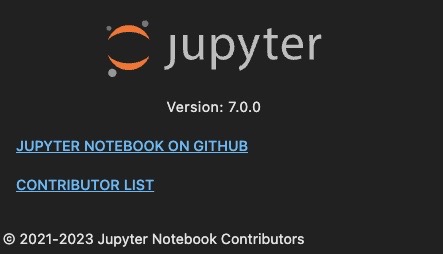
ようやくNotebook 7.0.0がリリースされました
これを機にnbconvertとjupyterで日本語PDF変換できるようにするための方法を探りました

Jupyter Notebookファイル hoge.ipynbをPDFに変換する方法は2つ
ターミナルから

$ jupyter nbconvert hoge.ipynb --to pdf

jupyterから
File -> Save and Export Notebook As… -> PDF
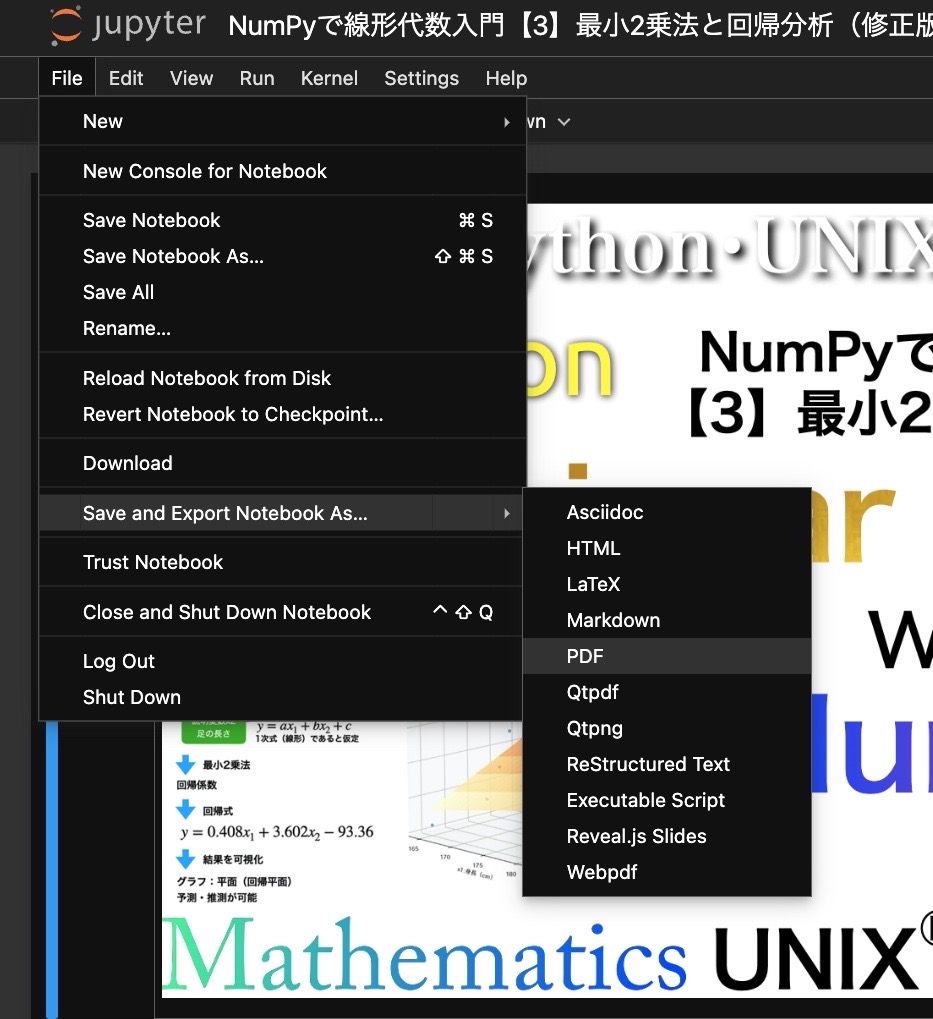
スクリーンショット 2023 07 27 15 49 05

どちらもLaTeX経由でPDFに変換するので
TeX Live等がインストールされていることが必須です
デフォルトでは日本語は通りません
それぞれの設定ファイルを編集して日本語が通るようにします

設定ファイルの場所を調べる

$ jupyter --path
config:
    /Users/sakuraisusumu/.jupyter
    /Users/sakuraisusumu/.local/etc/jupyter
    /Users/sakuraisusumu/.pyenv/versions/3.11.4/etc/jupyter
    /usr/local/etc/jupyter
    /etc/jupyter
data:
    /Users/sakuraisusumu/Library/Jupyter
    /Users/sakuraisusumu/.local/share/jupyter
    /Users/sakuraisusumu/.pyenv/versions/3.11.4/share/jupyter
    /usr/local/share/jupyter
    /usr/share/jupyter
runtime:
    /Users/sakuraisusumu/Library/Jupyter/runtime

dataに示されたディレクトリを1つずつ調べて
index.tex.j2
base.tex.j2
を探します

jupyter nbconvert の設定ファイル

~/.pyenv/versions/3.11.4/share/jupyter/nbconvert/templates/latex/index.tex.j2

これを開いて次のように書き換えます

%===============================================================================
% Latex Article
%===============================================================================

((*- block docclass -*))
\documentclass[xelatex,ja=standard]{bxjsarticle}
((*- endblock docclass -*))

jupyter の設定ファイル

~/.pyenv/versions/3.11.4/share/jupyter/nbconvert/templates/latex/base.tex.j2

これを開いて14行目を次のように書き換えます

((=- Latex base template (must inherit)
This template builds upon the abstract template, adding common latex output
functions. Figures, data_text,
This template defines defines a default docclass, the inheriting class should
override this.-=))

((*- extends 'document_contents.tex.j2' -*))

%===============================================================================
% Abstract overrides
%===============================================================================

((*- block header -*))
    ((* block docclass *))\documentclass[xelatex,ja=standard]{bxjsarticle}((* endblock docclass *))

MacOSでは以上の変更で日本語出力OK
ubuntu 22.04では、以上の設定ではダメで
/Users/sakuraisusumu/.local/share/jupyter
の2つのファイルの変更で日本語出力OKでした

これでどちらの方法でも日本語PDFが出力されるようになります
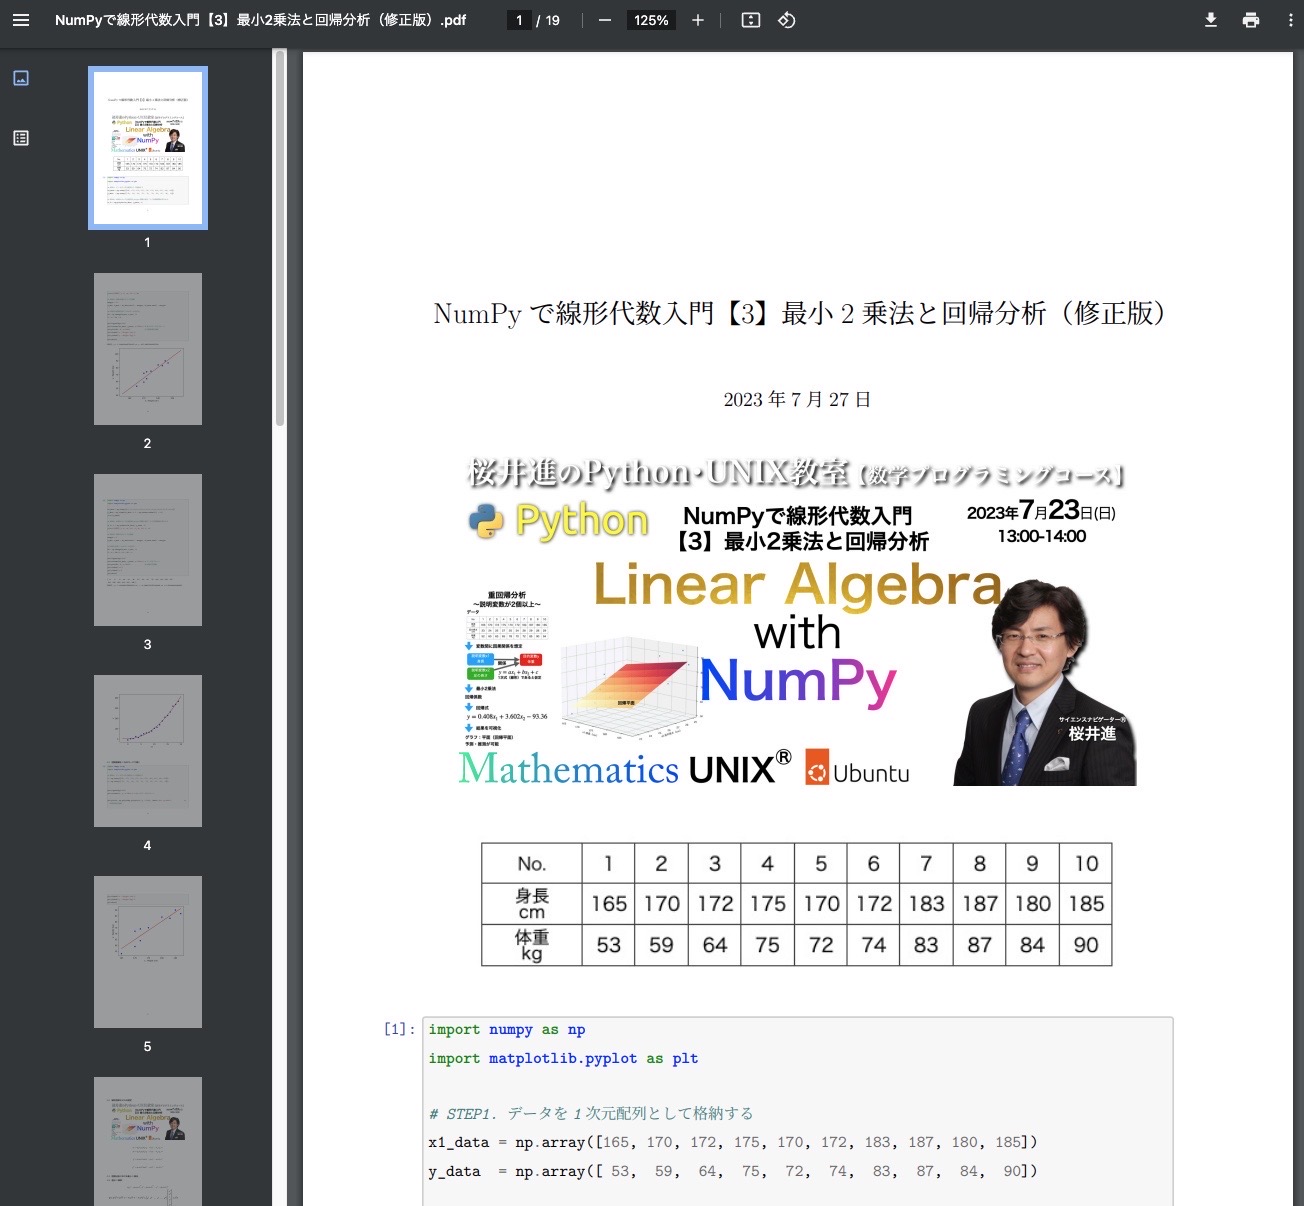
スクリーンショット 2023 07 27 16 13 35

Mac Pro Early 2009 + Python 3.11.4 + TensorFlow 2.12.0 インストール記録

今日もメインマシンはMac Pro Early 2009
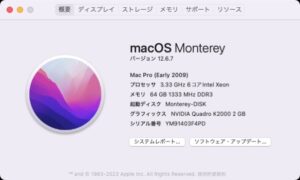
macOS Monterey 12.6.7

2021年9月17日の記事
のときは
macOS Catalina 10.15.6

Pythonもバージョンアップしていることなので
心機一転Pythonのインストールを実施

目標
Python 3.11.4
mayavi
TensorFlow

Python 3.11.4 インストール

$ pyenv install --list
$ pyenv install 3.11.4
$ pyenv global 3.11.4
$ pyenv rehash

問題なく完了
必要なモジュール・ライブラリのインストール

$ pip install -U pip setuptools
$ pip install numpy
$ pip install sympy
$ pip install scipy
$ pip install matplotlib
$ pip install japanize-matplotlib
$ pip install pandas
$ pip install jupyter
$ pip install jupyterlab
$ pip install ipyparallel
$ pip install gmpy2
$ pip install nodejs
$ pip install scikit-image

mayavi インストール

$ pip install vtk
$ pip install PyQt5
$ pip install mayavi

エラーによりインストールできない
前に試したライブラリをbrewインストールしてみる

$ brew install libxkbcommon-x11-0
$ brew install libxkbcommon
$ brew install libxcb-icccm4
$ brew install ibxcb-image0
$ brew install libxdamage
$ brew install libxcb-keysyms1
$ brew install xcb-util-keysyms
$ brew install libxcb-render-util0
$ brew install libxrender
$ brew install libxcb-xinerama0
$ brew install libxinerama
$ pip install mayavi

これでもダメ
対策を調べると
https://github.com/enthought/mayavi/issues/1232
ここに何やら解決策がある

$ brew install libvtk6-dev
$ brew install libpq5
$ brew install vtk6
$ brew install libvtk6-dev-qt 
$ pip install https://github.com/enthought/mayavi/zipball/master

インストールできた!
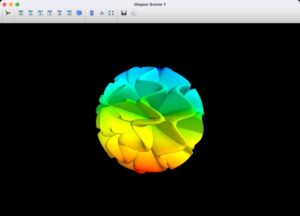
さっそく次のコードでテスト

from numpy import pi, sin, cos, mgrid
dphi, dtheta = pi/250.0, pi/250.0
[phi,theta] = mgrid[0:pi+dphi*1.5:dphi,0:2*pi+dtheta*1.5:dtheta]
m0 = 4; m1 = 3; m2 = 2; m3 = 3; m4 = 6; m5 = 2; m6 = 6; m7 = 4;
r = 2*sin(5*phi+cos(10*theta))
x = r*sin(phi)*cos(theta)
y = r*cos(phi)
z = r*sin(phi)*sin(theta)

from mayavi import mlab
mlab.figure(1, bgcolor=(0, 0, 0), fgcolor=(0, 0, 0), size=(600, 400)) # 背景色,サイズ等を設定
mlab.clf()
s = mlab.mesh(x, y, z)
mlab.show()

OK!

TensorFlow インストール

いつものように試行錯誤の連続
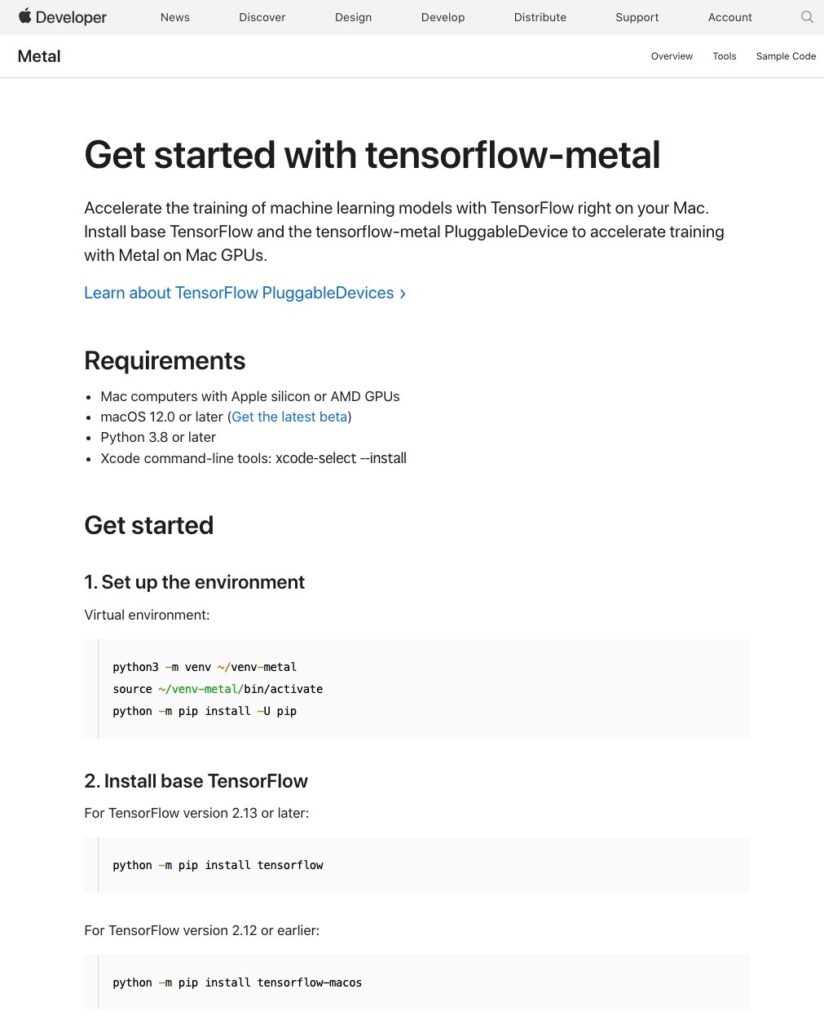
頼ったのはAppleのページ
https://developer.apple.com/metal/tensorflow-plugin/

これを信じてすべてを試してもTensorFlowはうまく動いてくれない

$ pip install tensorflow

だめ

$ pip install tensorflow
$ pip install tensorflow-metal

だめ

$ pip install tensorflow-macos
$ pip install tensorflow-metal

これもだめ

そもそもMacPro2009のCPUが古いせいで
2021年9月17日の記事
のときはPython 3.6.5でしかTensorFlowは動かせなかった
それもTensorFlow 1.5.0
いろいろ試して動かないのも無理はないかと諦めかけたとき
やっと成功!

$ pip install tensorflow-macos

これでOK
TensorFlow 2.12.0
が動いた
tensorflow-metalが要らなかった!

TensorFlowで次のHello Worldを実行して動作確認

$ python
Python 3.11.4 (main, Jul  5 2023, 13:11:04) [Clang 14.0.0 (clang-1400.0.29.202)] on darwin
Type "help", "copyright", "credits" or "license" for more information.
>>> import os
>>> os.environ['TF_CPP_MIN_LOG_LEVEL'] = '2'
>>> import tensorflow as tf
>>> hello = tf.constant('MacPro2009 Python 3.11.4 TensorFlow 2.12.0 Hello World')
>>> tf.print(hello)
MacPro2009 Python 3.11.4 TensorFlow 2.12.0 Hello World
>>> 

OK!

昔につくった画像認識のコードも動いた

import os
os.environ['TF_CPP_MIN_LOG_LEVEL'] = '2'
from tensorflow.keras.applications.vgg16 import VGG16, preprocess_input, decode_predictions
from tensorflow.keras.preprocessing import image
import numpy as np
import sys

# 画像を読み込み
input_filename = sys.argv[1] #コマンドライン引数で画像のファイルパスを指定
input_image = image.load_img(input_filename, target_size=(224, 224))
input = np.expand_dims(image.img_to_array(input_image), axis=0)

# モデル定義と認識処理
model = VGG16(weights='imagenet')
results = model.predict(preprocess_input(input))

# Kerasが提供するdecode_predictionsを用いて結果出力
decoded_result = decode_predictions(results, top=5)[0]

# 結果を整形して表示
print(' ')
print('TensorFlow(Keras)による画像認識結果')
print(' '.rjust(16), '\t', '確率')
for i in range(5):
    name = decoded_result[i][1]
    ratio = decoded_result[i][2]
    name_rjust = name.rjust(16)
    print(name_rjust , "\t", '{:.2f}'.format(ratio * 100.0)+'%')
print(' ')
Cat
cat.jpg
$ python ai.py cat.jpg         
1/1 [==============================] - 1s 662ms/step

TensorFlow(Keras)による画像認識結果
                     確率
           tabby     71.12%
    Egyptian_cat     14.72%
       tiger_cat     10.62%
        radiator     0.55%
         doormat     0.27%

これでミッションコンプリート!